Setting Up a Bushcraft Cold Smoker
Using a bushcraft cold smoker to preserve meat and fish is a practical skill that goes beyond just cooking—it extends the shelf life of your food and adds a distinctive flavor that you can’t get any other way.
The process doesn’t require fancy equipment; you just need some basic materials, patience, and the right setup to get it right.
I’ve built simple cold smokers in the wild before, and here’s how I approach it to ensure the meat or fish gets properly preserved.
What Cold Smoking Involves
Cold smoking uses smoke to cure food at a low temperature, typically below 90°F (32°C).
Unlike hot smoking, where the heat cooks the meat, cold smoking keeps the temperature low while letting the smoke work its magic over several hours or even days. It’s a slower process, but the benefit is that the meat retains its raw texture while absorbing the smoky flavor, and it’s preserved well enough to last for weeks.
You need to start with meat or fish that’s been cured with salt. This step is non-negotiable. Curing draws out moisture, which helps to prevent bacterial growth during the smoking process.
I usually salt-cure my meat by coating it generously with coarse salt and letting it sit for several hours, or even overnight, depending on the thickness of the cuts.
For fish, I use a similar method, often adding a bit of sugar to the cure for flavor balance.
Building a Basic Cold Smoker
You don’t need a complicated setup to cold smoke in the bush.
A simple smoker can be made with a dug-out fire pit, some flexible tubing or a trench for the smoke to travel, and a smoke chamber built from natural materials like branches and leaves.
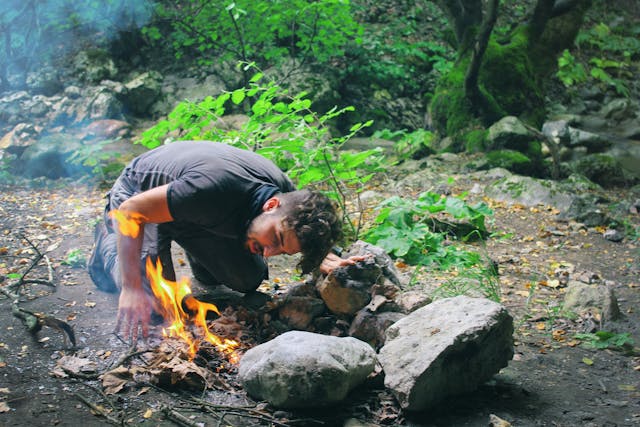
I start by digging a small fire pit for the smoldering wood. This needs to be at least a few feet away from the smoking chamber, so the smoke has time to cool before it reaches the meat or fish.
The smoke is channeled through a trench or pipe to the smoke chamber, where the food is hung or placed on racks.
The trench needs to be long enough (around 6-10 feet) to allow the smoke to cool down to the right temperature. I usually cover the trench with logs and soil to keep the smoke contained as it travels.
The smoke chamber itself can be a simple frame of sticks covered with a tarp or natural materials like bark or moss to hold the smoke in.
Make sure there’s enough ventilation to keep the smoke flowing without letting too much escape.
Choosing the Right Wood
The type of wood you use for smoking matters because different woods produce different flavors and levels of smoke intensity.
Hardwoods like oak, hickory, and apple are my go-tos for smoking because they burn slowly and produce good smoke without imparting any bitter flavors.
I avoid softwoods like pine or spruce because they contain too much resin, which creates a harsh, unpleasant taste.
When I’m smoking fish, I prefer milder woods like alder or fruitwoods like cherry, which give a lighter flavor. For meat, I might go with stronger woods like oak or hickory, especially if it’s a cut of pork or game that can handle a more robust smoke.
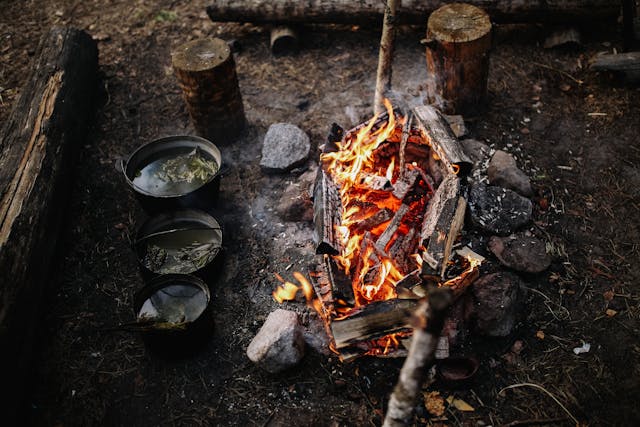
It’s important to keep the fire smoldering, not burning. A small, slow-burning fire that produces a steady stream of cool smoke is what you’re aiming for.
I add wood chips or damp sawdust to maintain a steady smolder.
Monitoring the Smoking Process
Cold smoking takes time and requires some monitoring. I keep an eye on the smoke to make sure it’s flowing consistently and at the right temperature.
If it’s too hot, the meat can start to cook instead of curing, which changes the texture and shortens its shelf life.
I usually check the smoke chamber regularly, adjusting the fire and adding more wood as needed to keep the smoke coming.
For meat, the smoking process can take anywhere from 12 to 48 hours, depending on the thickness of the cuts and how smoky I want it to be.
Fish typically takes less time—usually around 6 to 24 hours. Keep in mind that checking the texture and color of the meat or fish helps gauge whether it’s ready.
The surface should feel dry and firm, with a uniform smoky color. If it still feels too moist or looks pale, it needs more time in the smoker.
Using the Smoked Meat and Fish
Once the cold smoking is done, the meat or fish is ready for eating or storage. If I’m not eating it right away, I keep it in a cool, dry place.
Smoked meat can last for weeks or even months if stored properly, making it a valuable way to preserve food during long trips or when fresh supplies aren’t available.
I’ve used smoked fish as a staple during extended stays in the woods, adding it to soups, and stews, or eating it as-is.
The flavor and preservation make smoked meat worth the effort, especially if you’re relying on what you can catch or hunt. There’s a sense of satisfaction in making use of traditional methods to extend your food supply, knowing that the meat you’ve smoked yourself will keep you going for days to come.
Final Thoughts
Setting up a bushcraft cold smoker isn’t complicated, but it does take some patience and practice to get the process just right.
With basic materials and a little know-how, you can create a cold smoker that not only preserves meat and fish but adds a depth of flavor that makes outdoor meals far more enjoyable.
It’s a skill that goes beyond cooking; it’s a way of making the most of what the wild provides.
You might as well be interested in
-

Campfire Bannock: Easy Bread You Can Cook Right on the Flames
When you’re out camping, there’s something special about making food over an open fire. For me, one of the easiest and most satisfying things to…
-
Campfire Bread Recipes: Simple Doughs You Can Cook Right on the Coals
There’s something about cooking bread over a campfire that makes a meal feel complete. Whether you’re wrapping dough around a stick or cooking it in…
-
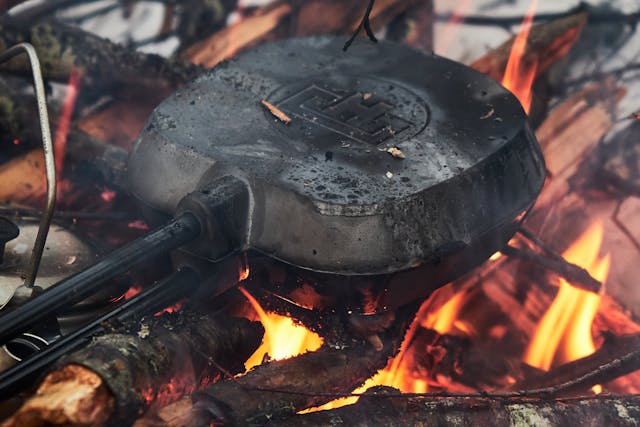
Cast Iron Paella: Perfect Crispy Rice, No Fancy Pan Needed
The Ultimate Guide to Making Campfire Paella There’s nothing quite like cooking over an open flame. It brings people together, adds a rustic touch, and…
-
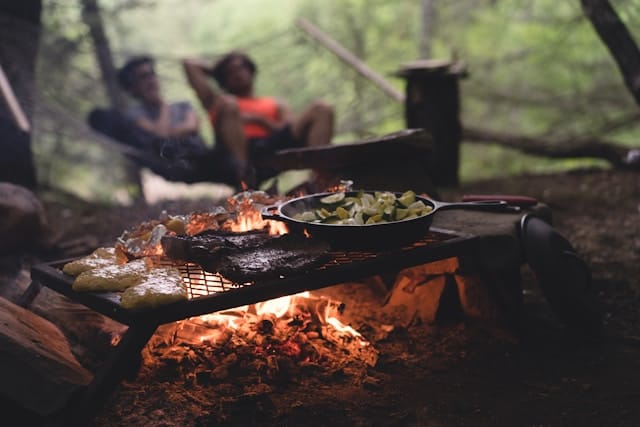
Bushcraft Grills: Tough, Packable Grates for Campfire Cooking
Bushcraft Grill: The Gear You Need for Cooking Over an Open Fire When you’re out in the wild, there’s nothing quite like cooking over an…
-

Bushcraft Coffee: Brewing a Perfect Cup in the Wild
Bushcraft Coffee: Making It Right in the Woods For me, bushcraft coffee is more than just a quick caffeine fix—it’s a ritual that brings a…
-
Bushcraft Cold Smoker: Preserving Meat and Fish in the Wild
Setting Up a Bushcraft Cold Smoker Using a bushcraft cold smoker to preserve meat and fish is a practical skill that goes beyond just cooking—it…
-

Bushcraft Cooking Knives That Get the Job Done: Prep, Carve, and Slice with Ease
Why a Bushcraft Cooking Knife Matters A bushcraft cooking knife isn’t just any blade you toss into your pack. It’s a tool that needs to…
-
Bushcraft Cookware: Gear That’ll Actually Last in the Wild
When you’re out in the wilderness, the tools you bring with you can make or break your experience. If you’re cooking over a fire, it’s…
-
Bushcraft Cooking – What’s In a Pot?
Bushcraft Cooking: A Practical Guide Bushcraft cooking melds outdoor skills with the art of preparing food. When I step into the wild, I find that…
INTERESTED IN BUSHCRAFT STUFF?